Replacing Atari Jaguar CD Unit Laser Transport - page 2
Where necissary I have made larger versions of the pictures availible. You can view these by clicking on the image. I have also highlighted parts of some images to indicate items of interest, I will explain these within the text with the picture.
Tools I used
Before attempting this I recommend that you have a clear well lit workplace with a hard clear surface. If you attempt this on a carpet or such surface there is a good chance you will get dirt on your new laser object lens which will impare it's performance, perhaps even stopping it from working all together!, also turn off any Vandergraph generators, Plasma orbs, Tesla coils or other static generating devices, Yes they are fun, but when they destroy your CD Unit, you won't think they are as fun anymore :)
Basic tools: Philips head screwdriver, with a long neck (for accessing screws at the back of the unit), needle nosed pliers, stanley knife, and an electrical tester probe but any small headed tool will do for this as long as it is easy to handle and safe to use as a prying tool (we don't want you slipping and loosing fingers now! :) )
You will also need a soldering iron (preferably one which doesn't resemble a hot spade, a nice low wattage small tipped one is ideal), fine solder (again, if you can use it to weld girders together with, it's not what we want here. I used 1mm thick Archer standard rosign core solder). A solder sucker can also be very handy but not really essential, unless you are a messy solderer. If you are not comfortable with soldering things, get someone who is. The soldering you have to do is very minimal (6 joints), and isn't anywhere near a PCB, so it should be easy enough for anyone to do, but if you aren't sure, get someone else to do it.
Disclaimer
I accept no responcibility for any damage that is incured by following this guide. If you CD Unit and Jaguar go up in a cloud of blue smoke, tough. This is a guide to help you so it's your own fault if you staple your cat to the table whilst following these instructions. I have performed the steps I take here myself, and had no problems. If you do render any of your equipment, limbs, friends, pets inoperative it is not my responcability. If you do not agree to this, don't follow this guide, don't read it, find a nice dark corner and go there instead.
You get my point? good :) now we shall begin
Opening up the CD Unit
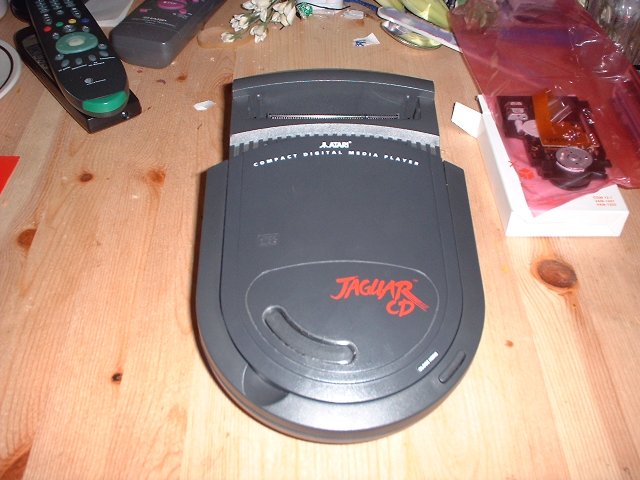
Here is my baby, very un-well at this time. You can see I am taking my own advise, nice clear table... save the crap piled on it, well you live and learn :). On the right you can see the new transport in it's protective bag. The first step of any repare it take the broken thing apart, so lets get on with it.

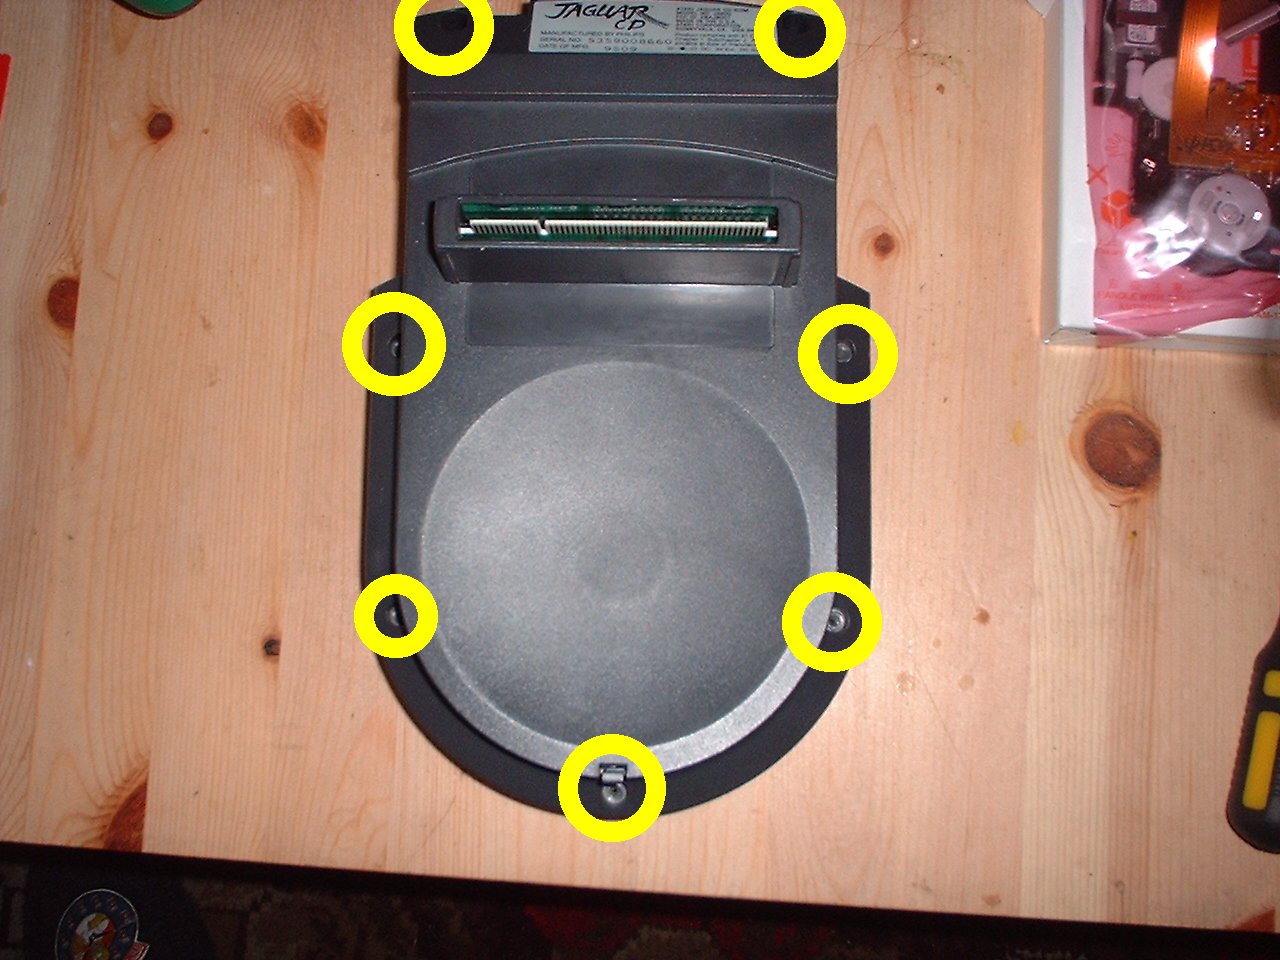
Turn the unit over to get access to the 7 screws holding the case together. I have circled the locations of the screws on the picture, all the screws we need to remove are the same size and philips. Once the screws are out carefully turn the unit over again and remove the top cover, you shouldn't have to worry about springs flying out or the door falling off. The door mechanism is entirley built onto the top part of the housing, just be carefull of the door closed sensor at the bottom right, it's a small piece of plastic that easily comes out.
Page 3 - Removing the PCB
Copyright 2002 Graeme Hinchliffe